Key Takeaways
- Video tours significantly increase exposure and engagement, helping rental listings stand out and attract more qualified prospective tenants.
- You don’t need expensive equipment or professional skills—a smartphone and a few best practices are enough to create an effective video tour.
- Proper preparation, lighting, and smooth filming make a major difference in how renters perceive your property.
- Consistently using video tours gives landlords a competitive marketing edge while remaining cost-effective and time-efficient.
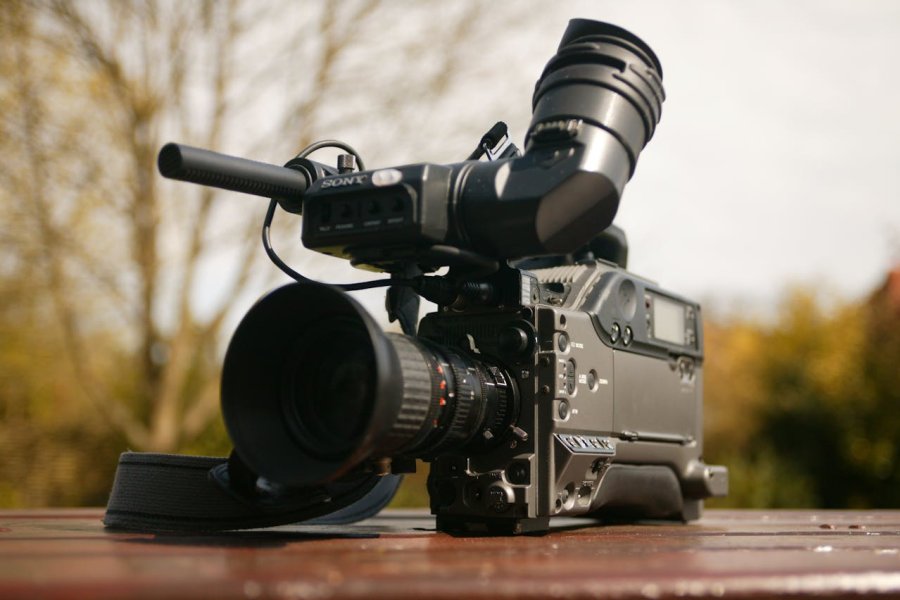
An engaging video of your vacant rental is one of the most effective ways to generate interest in the property. A well-made video can dramatically increase the reach of your ads and the quality of prospective tenants who respond to your listing.
Most landlords don’t take advantage of this accessible marketing tool because they think they need expensive equipment and professional-level skills to shoot a decent video of their rental property. But this is not true, and in this article, you will learn why.
What makes video tours such a great tool for advertising rental properties? Video tours let you do things that other marketing strategies will not. Video tours also do what other marketing options do better. For example, with a video tour, you get:
- Remote Accessibility: Prospective renters who view the rental via a video tour feel as if they are actually walking through the home themselves.
- Detailed Preview: Viewers get an accurate view of the size, layout, design, and contents of the rental; better than what they can get from static photos.
- Emotional Connection: It is easier for viewers to visualize themselves in the rental and connect with it when they view it via video than any other medium.
- Enhanced Decision-Making: For potential renters who are time-pressed or far from the location of the property, a video tour helps them reach a decision quickly.
- Remarkably Efficient: Video tours are easy to consume. They let you show the property, instead of trying to explain it through long abstract descriptions.
- Marketing Edge: Landlords who market their rental property using video tours give themselves an edge because they dramatically increase their reach.
- Cost-Effective: Lastly, creating a video of your rental property doesn’t cost a lot of money or take a lot of time, but the results are undeniable.
Keep on reading this blog by InterWest Properties to learn more about filming great rental property tours.
Filming a Great Video Tour of Your Rental Property
To create a standout video tour of your rental property, follow these 7 tips:
1. Gather Your Equipment
You don’t need a professional camera; a smartphone with a high-resolution camera will work just fine. A stabilizing gimbal or tripod helps you avoid shaky video footage.
If you are not ready to make that investment right now, there are ways to work around this problem (as you will see later).
A small clip-on microphone ensures stable voice volume throughout the video, if you plan to add narration while shooting. Portable LED lights help to light up dark corners and closets, but this is optional.
2. Prepare the Property
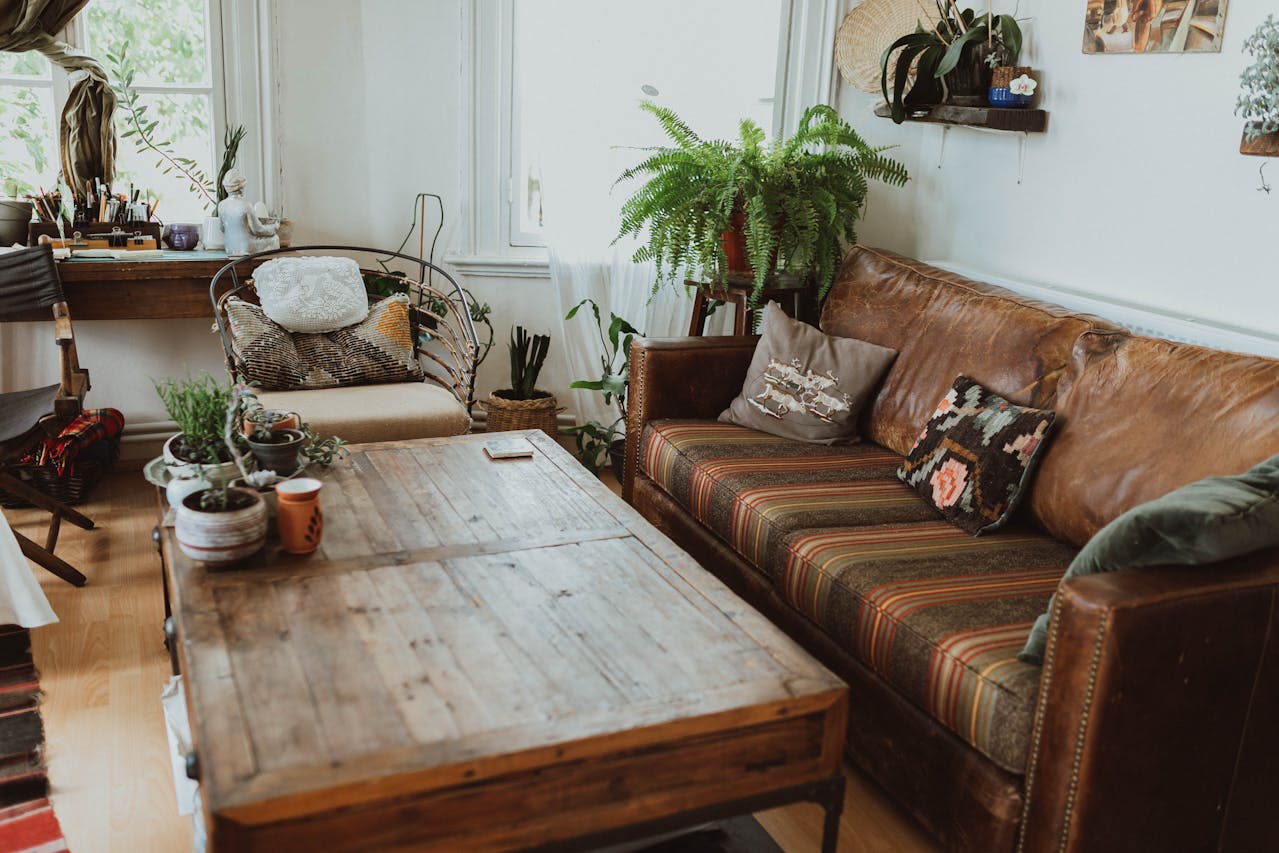
Deep clean the house and clear out clutter. Make sure no random objects are standing on shelves or countertops, inside the sinks, or in room corners. Remove all personal items to depersonalize the home.
If you plan to stage the rental, use neutral colors and simple décor. Keep all the lights on and make sure doors are unlocked (to avoid fiddling with locks during the shoot).
Ensure that toilet seats are down. Check if the faucets are functioning. If the view outside a window is unpleasant, pull down the blinds.
3. Plan the Flow of the Video
Your video will be more engaging if it follows a logical path similar to an in-person viewing. Here is an example of what that could look like. Start with a 5-10 second intro that states the address, property type, and why the rental is such a great place.
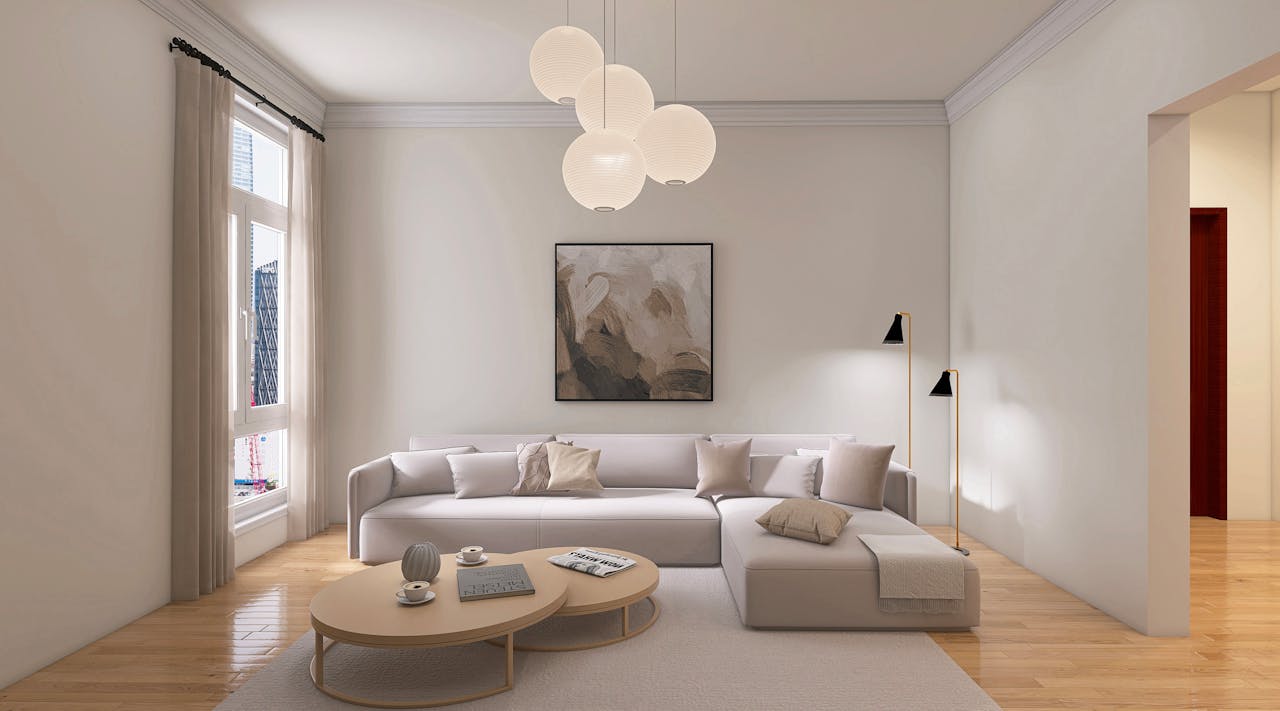
Begin shooting from the exterior to provide context, make your way into the main living area, and then the kitchen, before the bedrooms and bathrooms. Make a list of the key features you want to highlight during the tour: modern appliances, spacious closets, scenic views.
4. Think of Lighting
Natural light is the best kind of lighting, but too much natural lighting will ruin your video. Instead of shooting in the middle of the day when the sun is brightest, and the video can suffer from overexposure, choose a time of the day when the sunlight is softer.
The best time is early in the morning or later in the afternoon (the golden hours for shooting a video using natural lighting). If necessary, regulate the amount of light streaming through the windows with curtains or blinds. Always shoot with your back to the light.
5. Film in Landscape
Film your video in landscape; it captures a more accurate representation of the layout and size of rooms. This mode gives viewers a better perspective of the property and ensures that the video will fill the screen of any type of device it is viewed on.
To give viewers a more natural POV, keep your camera at eye-level or no lower than chest level when shooting. Use natural and slow movement as you move between rooms, ensuring smooth transitions, instead of constantly cutting the footage.
6. Film Slowly and Steadily
To avoid shaky and amateurish shots, hold the smartphone close to your chest, with your arms pressed to the side of your body.
To pan a room, do not move the phone or your arms; instead, you want to swivel by twisting your torso. You can also stabilize your body better by standing against a wall in a far corner of the room you are shooting.
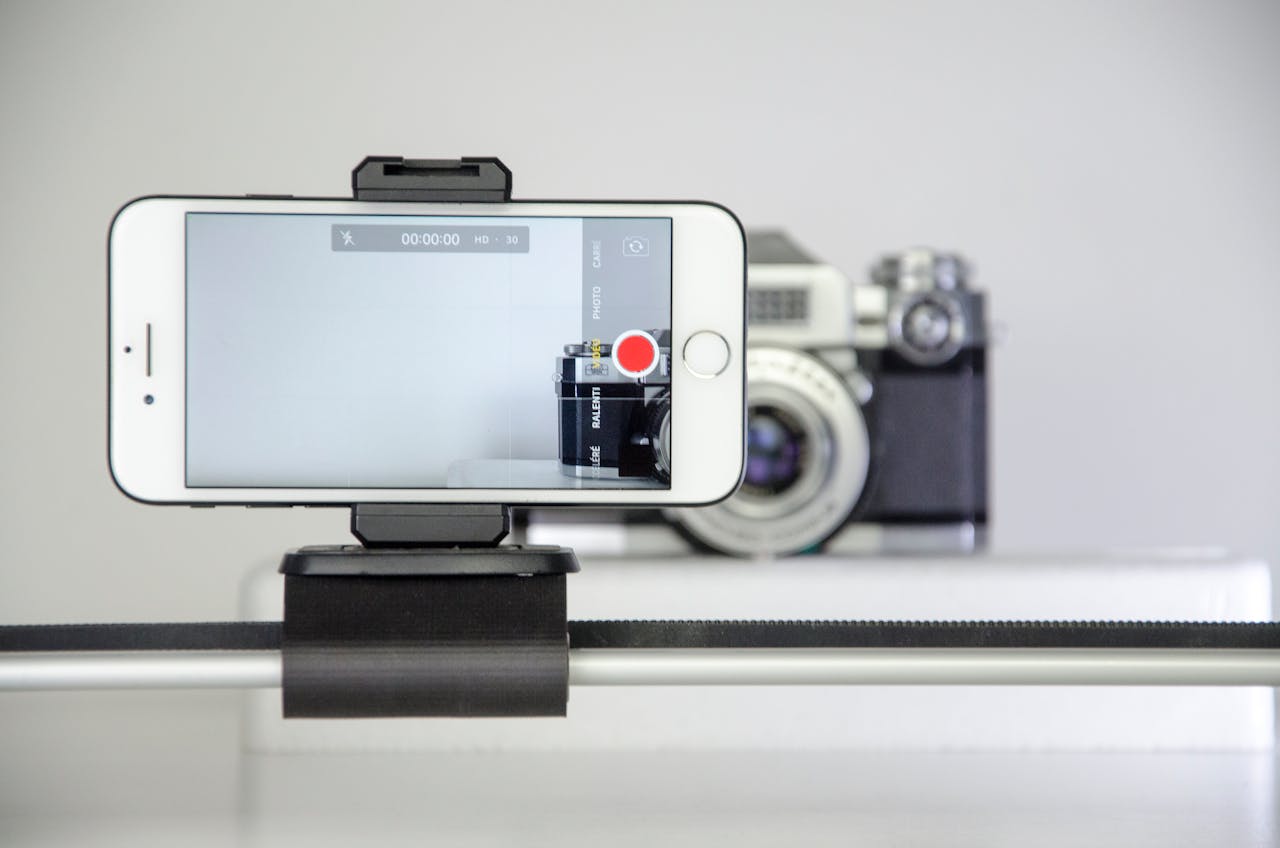
Invest in a tripod or gimbal if you plan to make more of these types of videos in the future. Make sure you avoid reflective surfaces like mirrors, windows, monitors, etc., unless you don’t mind your reflection showing in the video.
Avoid zooming; instead of zooming, move closer to the object you want to highlight.
7. Add Narration to Your Video
It is easier to add a narration as you shoot the video. This helps you provide additional context and adds a spontaneous feel to your video that viewers find more authentic.
If you add a voiceover later, during editing, you will get a more professional video, but this will also mean extra work. If you don’t have the time or skills to edit a video, do your narration as you shoot the video.
Lastly, give your video a catchy title and a clear description. Your title and description should include the neighborhood. And do not forget to add your contact information at the end of the video.
Finally, like everything else in life, shooting a video tour of a rental property gets easier with practice. You may have to do more than one take to get it right. But don’t give up just because you think the video isn’t perfect.
Bottom Line
In today’s competitive rental market, a simple video tour can make the difference between a listing that sits vacant and one that attracts qualified, motivated renters.
If you’d like expert guidance or prefer to leave the marketing to professionals, InterWest Properties is here to help. Contact InterWest Properties today to learn how our property management team can market your rentals more effectively and help you lease faster with confidence.